
The Step-by-Step Process of Creating a Thangka Painting
Share
Introduction
Creating a Thangka is a sacred practice, blending artistic mastery with spiritual devotion. Each step, from preparing the canvas to applying pigments, follows centuries-old traditions.
Preparing the Canvas
— A cotton or silk canvas is stretched over a wooden frame.
— The surface is coated with a mixture of chalk and glue, then polished smooth.
Outlining the Design
— Artists use precise geometric grids to maintain iconographic accuracy.
— Proportions are guided by sacred texts, ensuring spiritual authenticity.
Applying Base Colors
— Natural mineral pigments and organic dyes are used.
— Colors are layered carefully, beginning with broader areas before details.
Adding Fine Details
Intricate lines, ornaments, and sacred symbols are painted with extreme precision.
— Faces and eyes are completed last in a ritual known as “opening the eyes.”
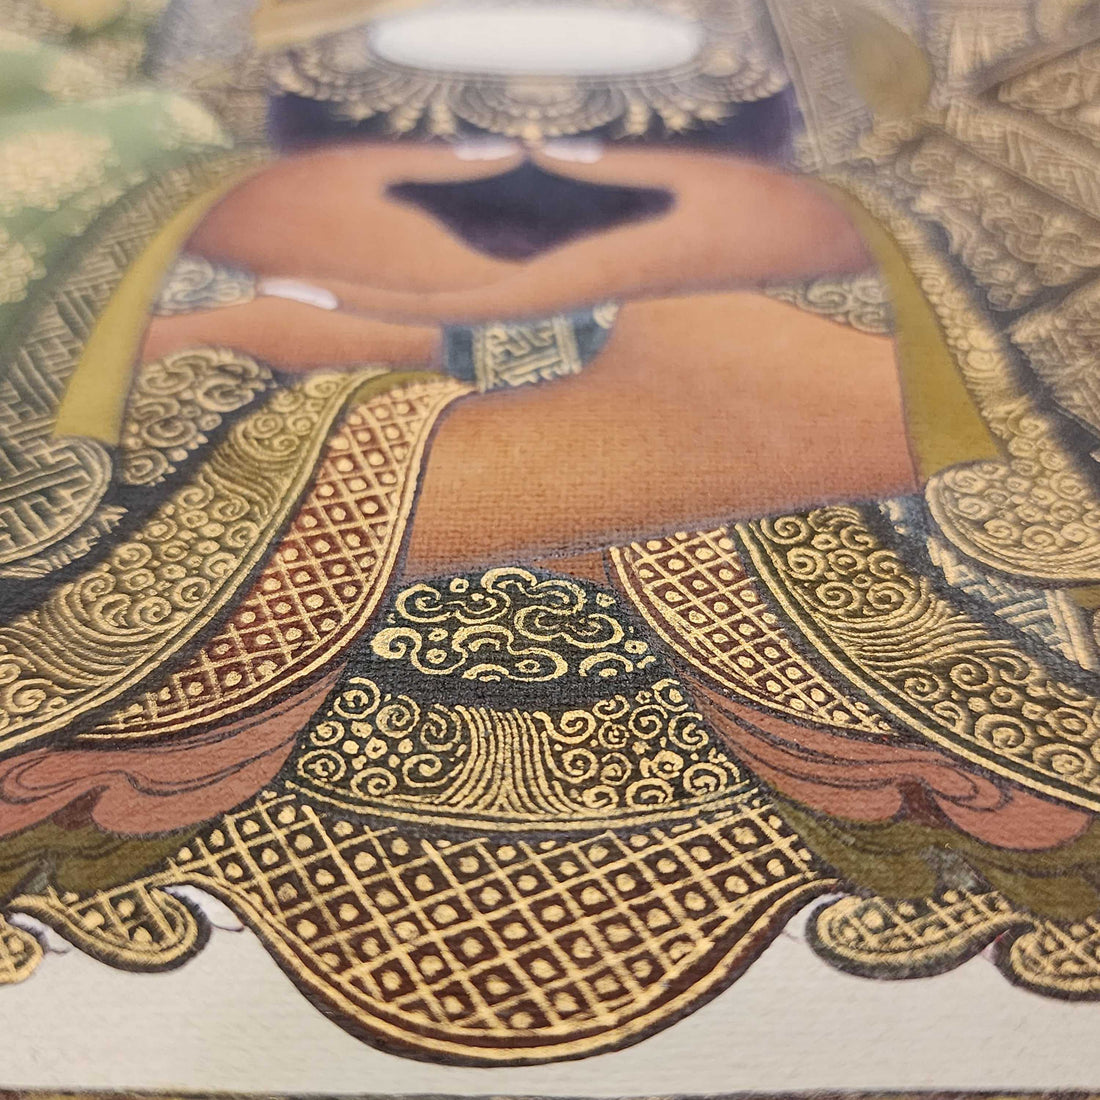
Gold Work and Highlights
-
Pure gold is applied to ornaments, halos, and sacred designs.
-
This enhances both visual beauty and spiritual significance.
Finishing Touches and Consecration
— Artists often recite prayers during the final touches.
— Once completed, the Thangka is consecrated by monks, transforming it into a sacred object.
Conclusion
The making of a Thangka is a devotional journey, requiring patience, discipline, and spiritual focus. Each painting carries the blessings of both the artist and tradition.